


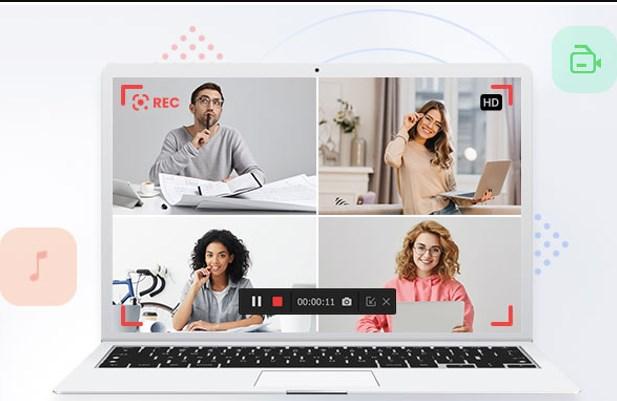
Ever found yourself in a situation where you needed to capture and share the screen activity of your PC? Whether it’s for work, school, or just to show off your gaming skills, knowing how to screen record on Windows 10 with audio can be a valuable skill to have.
In this guide, we’ll walk you through the screen and sound recorder on Windows 10 with audio and share some pro tips and techniques to make your recordings look and sound professional.
So grab your headphones and microphone, and let’s dive into the world of screen recording on Windows 10!
Navigation
- Part 1: Where Screen Recording with Audio is Required: Common Scenarios
- Part 2: Built-in Tools for Recording Screen on Windows 10 with Audio
- Part 3: Explore the Power of Wondershare DemoCreator: Record Screen on Windows 10 with Audio
- Part 4: Advanced Tips and Tricks for Recording Screen on Windows 10 with Audio
- Conclusion
- FAQs
Part 1: Where Screen Recording with Audio is Required: Common Scenarios
Before diving deep into this, let’s talk about where screen and audio recordings are mostly used. check them out from below:
Marketing and advertisements
Screen capture with audio allows businesses to create engaging marketing content and ads. Text alone can be significantly less successful than a recorded screen session that explains a service or highlights a product’s benefits.

Online Lectures and Webinars
A screen and audio recorder are a must for educators and professionals who give online lectures. It makes it possible to record live sessions so that students may review them and make sure they don’t miss anything important.
Tutorials and Demos
A screen and sound recorder can be used to produce interesting, simple-to-follow tutorials, whether you’re teaching software skills or presenting a product. Visual instructions combined with clear auditory instructions improve understanding and memory.
Technical Support
Using a screen and sound recorder to clarify solutions for difficult situations might be helpful when offering tech support. It’s an easy approach to walk customers through troubleshooting procedures.

So, these are some of the common scenarios where a screen and audio recorder are required. now, it’s time to look at some built-in tools for learning how to screen record on Windows 10 with audio.
Part 2: Built-in Tools for Recording Screen on Windows 10 with Audio
Do you know that Windows 10 is equipped with built-in if you are looking for a reliable screen and audio recorder?
So, let’s dive into built-in tools in Windows 10 that can help you with screen capture with audio.
Xbox Game Bar
In Windows 10, the Xbox Game Bar is an excellent built-in tool for capturing both audio and screen activity. Originally designed with gamers in mind, it’s now a flexible option for anyone who needs to record their screen audio.
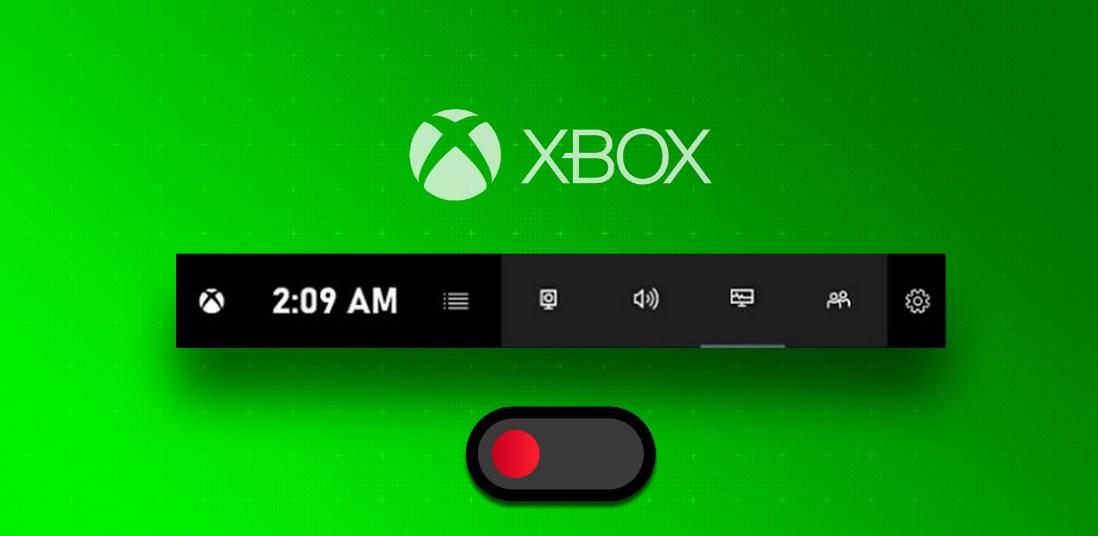
To begin recording, just hit (Win + Alt + R) after selecting your audio preferences and pressing (Win + G) to enter the game bar. It really is that simple! The Xbox Game Bar makes it easy and seamless to record gameplay, create tutorials, or capture any on-screen activity. Your recordings are instantly saved in the Captures folder. It’s the go-to tool for simple audio and screen recording.
Microsoft PowerPoint
On Windows 10, did you know that Microsoft PowerPoint can also function as a screen and audio recorder? This is true. It’s not only for presentations!
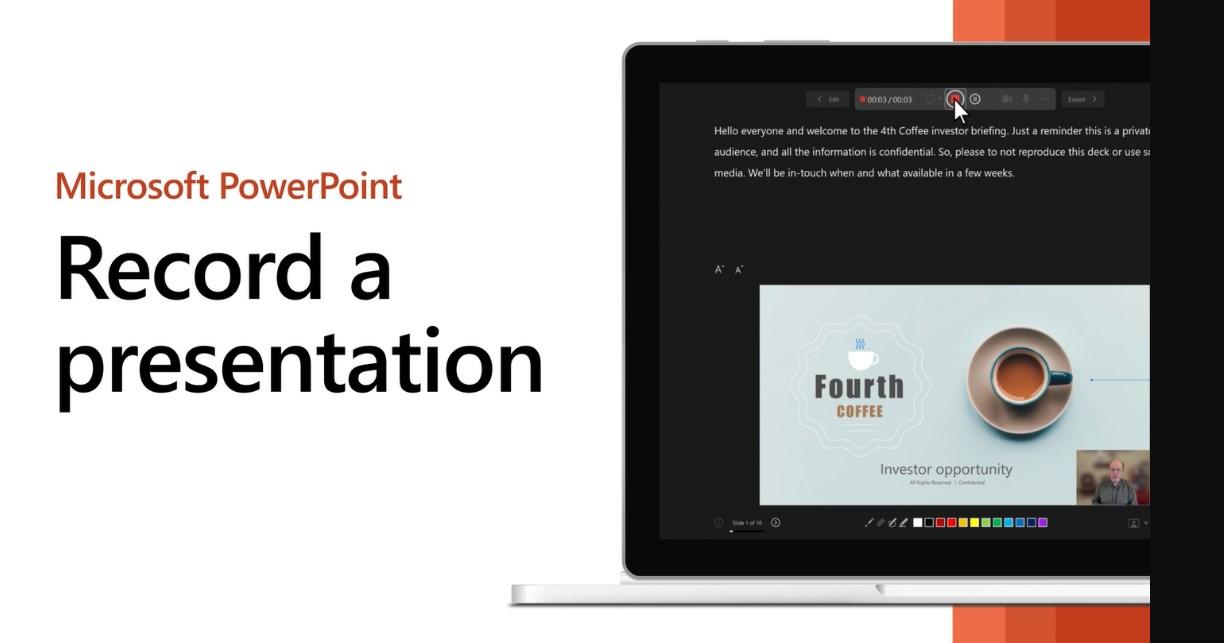
Start by launching PowerPoint, selecting the “Insert” option, and then selecting “Screen Recording.” After choosing which region to record and making sure the audio is turned on, press “Record.”
Once you’ve completed your task, click “Stop”. You have the option to export your recording as a video file or store it immediately in your presentation. This useful function is ideal for recording any on-screen activity with audio and making tutorials and demos. It’s an easy way to screen capture with audio that still packs a punch!
So, these were the built-in tools for how to record screen and audio on Windows 10. These tools can be used for basic needs. now, let’s move on to the next section, in which we will talk about a professional tool.
Part 3: Explore the Power of Wondershare DemoCreator: Record Screen on Windows 10 with Audio
Finally, we reached the heart of this topic, The Wondershare DemoCreator! This is an amazing tool if you are looking for how to record screen with audio on Windows 10. With the help of this adaptable tool, you can screen capture with audio. It comes with a number of features to enhance your recordings.
Check out its amazing features below:
- It records in 4K or 8K resolution, capturing every detail. You can record natural and high-definition videos at up to 120 frames per second using DemoCreator’s screen and audio recorder.
- You have control over every track. This enables you to record video, audio, and camera separately and edit them more.
- The annotation, highlight, and cursor enhancement tools let you quickly improve the visual appeal of your content.
- It has a scheduling feature so you can arrange your recordings in advance. It’s simple to maintain organization and maximize each big catch.
- Your recorded videos can be easily uploaded to the cloud, shared via secure links, and viewed with web-based comments. Additionally, you can upload your content directly to social media platforms.
See how amazing its features are! it is a must-try tool that offers multiple advantages over built-in tools for Windows 10. So, what are you waiting for? Download this amazing tool today and enjoy!
You can check out the steps for using this tool to record screens on Windows 10 with audio. these are given below:
Step 1: After downloading the most recent version from the official website, install DemoCreator on your desktop or laptop.
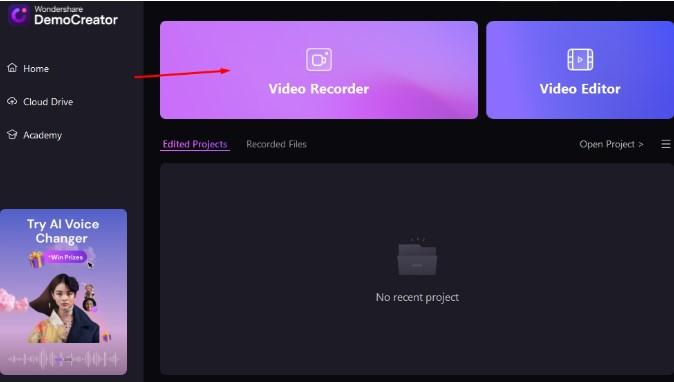
Step 2: Once the installation is finished, launch the DemoCreator. Select the video recorder option now.
Step 3: You will see six different recording options here; select the one that best suits your needs.
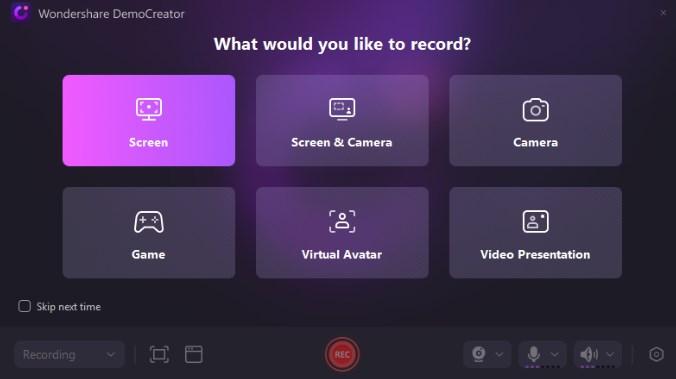
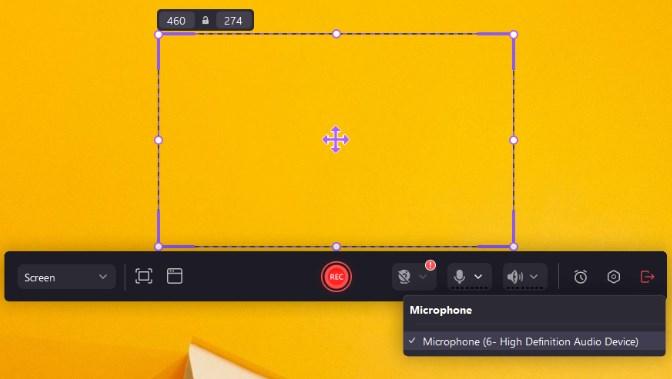
Step 4: Your screen will now display an overlay window. The screen recording area can be maximized or minimized, and the audio feature can be chosen. To enable audio options, connect your PC to a microphone or headphones.
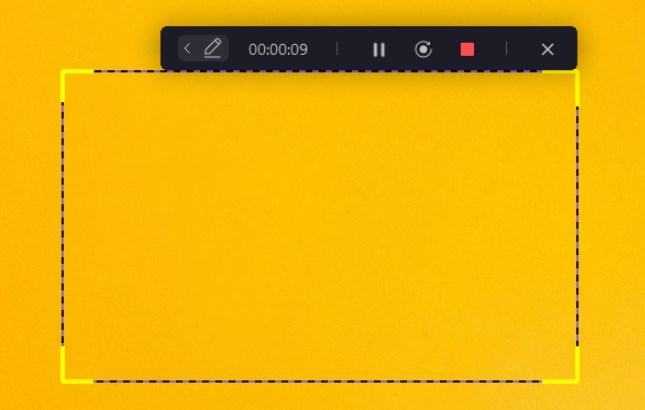
Step 5: In order to begin recording your screen with audio, click the red button now. To pause or end the recording, press F9.
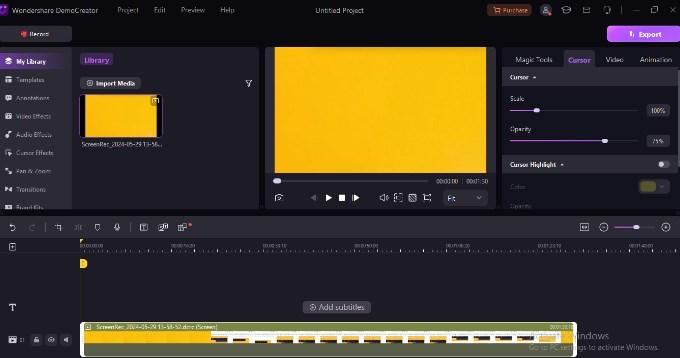
Step 6: You will be taken to the customization dashboard once the recording has ended. This is where you can adjust, crop, and mix the audio to improve the screen capture.
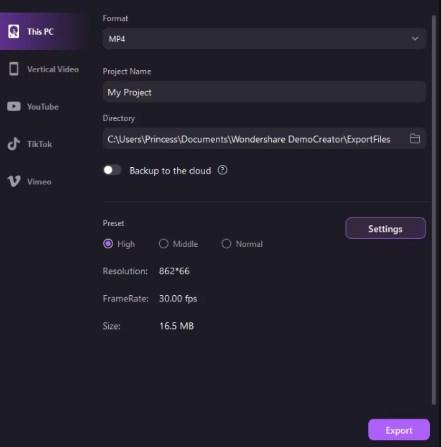
Step 7: You have the option to post your video directly on social media or save it in a format of your choosing.
As we can see, the steps are quite easy to perform, so why don’t you download this tool for free today? search for this tool and download it today to get maximum benefits!
Part 4: Advanced Tips and Tricks for Recording Screen on Windows 10 with Audio
Alright, it’s time to delve into some advanced tips and tricks to level up your recording with audio experience on Windows 10.
- First, you need to get high-quality audio microphones with noise-cancellation features. it will help you record crystal-clear audio.
- Take a moment to adjust your display settings for the best possible quality and frame rate as you set up your recording. This has the potential to impact the final video’s quality significantly.
- To bring essential parts of your recording to light while editing, think about adding annotations or highlights. This might help maintain the attention and engagement of your viewers with the important details.
- Finally, don’t be hesitant to try new things and use your creative skills! A wide range of opportunities arise when audio is recorded on screens. Experiment, discover your own voice, and add sparkle to your content!
So, these are some tips and tricks that you can consider while recording a screen on Windows 10 with audio.
Conclusion
It’s time to wrap up, and we hope you now understand how to record a screen with audio on Windows 10. The advanced tips and tricks provided in this guide for recording screens with audio are very useful, and you must consider them.
If you are seeking a professional tool, then you must try Wondershare DemoCreator. It is a wonderful tool that can help you take your recording skills to new levels!
FAQs
Q1: Can we use third-party software to record the screen on Windows 10 with audio?
yes, of course! you can use third-party software to record screens on Windows 10. there are various options, and Wondershare DemoCreator is one of them.
Q2: Can we record a specific region instead of the entire screen?
Yes, this feature is offered by many tools. Wondershare DemoCreator is one of them.
Q3: Which tool is best for recording screens with audio on Windows 10?
Wondershare DemoCreator is the best tool for recording screens with audio on Windows 10.
DISCLAIMER: The images/videos/logos showcased on this page are the property of their respective owners. We provide credit and sources wherever possible. However, If you find that your image/video is displayed on this blog without authorization, please contact us with the relevant details, and we will promptly address your concerns.

Owais Qarni is the co-founder and author at Saudi Scoop. A Dreamer, Explorer, and Optimist! His work focuses on creating informative and engaging content, offering fresh perspectives on topics relevant to both local and global audiences.

